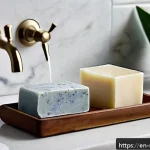
With the growing buzz around sustainable living and DIY wellness, natural soap making has never been more popular. Whether you’re a complete beginner or looking to refine your craft, this hands-on guide will walk you through each step with clarity and confidence.
I’ve personally found that creating your own soap not only feels rewarding but also lets you control every ingredient for healthier skin. Dive in with me to explore how simple ingredients can transform into beautiful, nourishing bars.
By the end, you’ll be ready to impress friends and family with your homemade creations that are as good for the earth as they are for your skin. Let’s get started on this creative and eco-friendly journey together!
Choosing the Right Ingredients for Your Soap
Understanding the Basics of Oils and Butters
When diving into soap making, one of the most important steps is selecting the oils and butters that will form the base of your soap. Oils like olive, coconut, and palm each bring different qualities to the final product—olive oil offers gentle moisturizing properties, coconut oil contributes to a rich lather, and palm oil adds hardness to the bar.
Butters such as shea and cocoa butter add extra nourishment and creaminess, making your soap feel luxurious on the skin. From my own experiments, balancing these oils is key: too much coconut oil can dry out your skin, while too much olive oil can make the soap soft.
It’s like cooking—finding the right recipe makes all the difference.
Choosing Natural Additives and Essential Oils
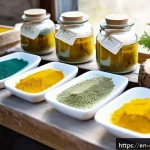
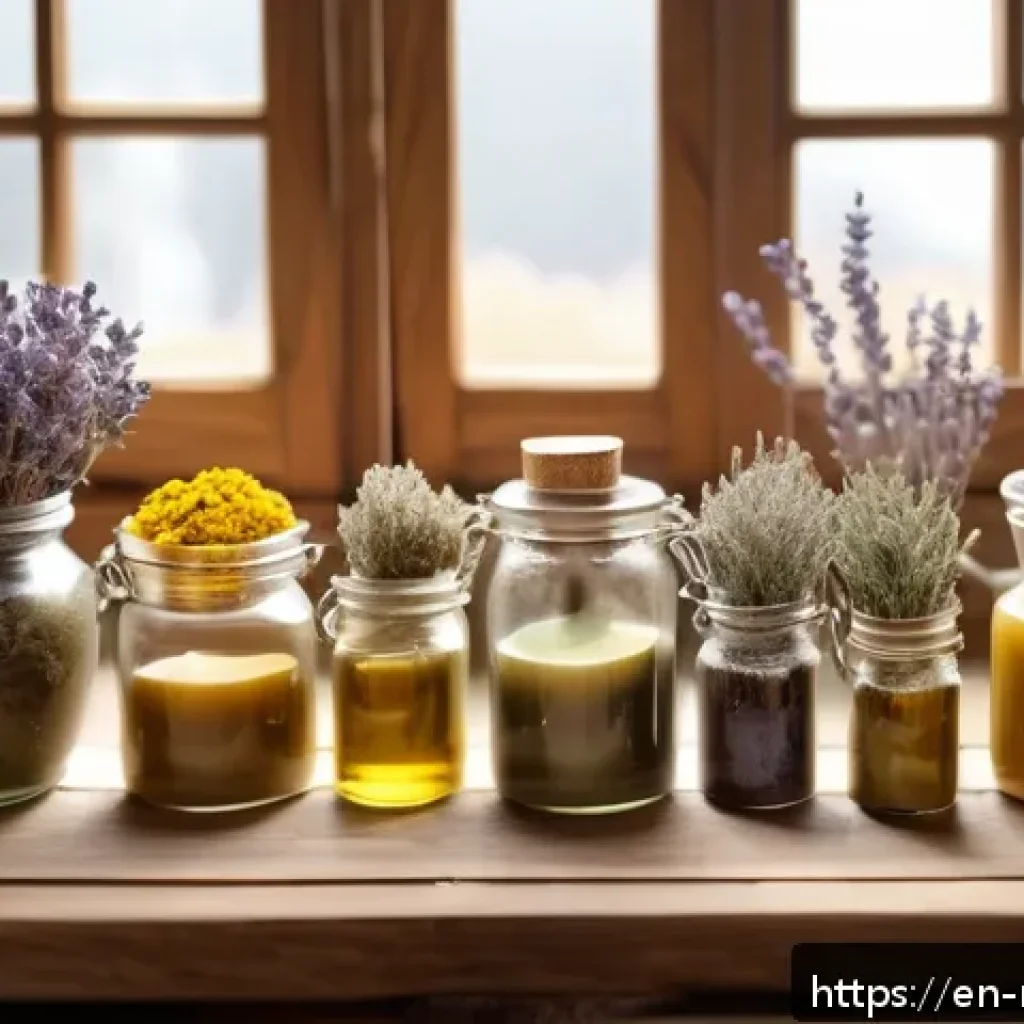
Natural additives like oatmeal, dried herbs, and clays not only enhance the soap’s texture and appearance but also introduce beneficial skin properties.
For example, oatmeal soothes sensitive skin, while activated charcoal detoxifies and deep-cleans pores. Essential oils are where you get to have fun with scent and aromatherapy benefits.
Lavender calms, peppermint invigorates, and tea tree oil fights acne. When I first started, I was surprised how a few drops of essential oil completely transformed the soap’s personality.
Just remember to use essential oils sparingly—they’re potent and can irritate skin if overused.
Why Water Quality Matters
Water is often overlooked, but it plays a crucial role in soap making. Using filtered or distilled water can prevent unwanted minerals or impurities from affecting your soap’s texture and shelf life.
Tap water, depending on your area, might contain chlorine or other chemicals that interfere with saponification (the chemical reaction that turns oils into soap).
I once had batches that didn’t set properly until I switched to distilled water. It’s a small change that makes a big difference in quality.
Mastering the Soap Making Process Safely
Handling Lye with Care
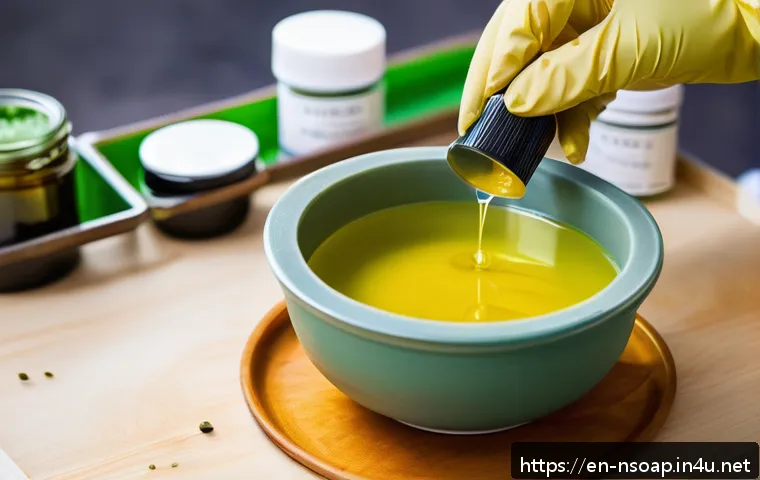
Lye (sodium hydroxide) is essential for soap making but must be handled carefully due to its caustic nature. Always wear gloves and protective eyewear, and work in a well-ventilated area.
I remember my first batch—I was nervous about mixing lye with water, but by following safety steps, it became a manageable process rather than a scary one.
Mixing lye into water (never the other way around) and allowing it to cool properly before combining with oils is critical to prevent accidents and ensure a smooth soap batter.
Mixing and Trace Stages Explained
The “trace” stage is when the soap batter thickens enough to hold a pattern or drizzle. It’s a magical moment that signals your ingredients are blending well.
You’ll notice the mixture changes from thin to a consistency like pudding or thick custard. I’ve found that patience during this stage pays off. Stirring too quickly or adding fragrances too early can cause the batter to separate or seize.
Taking time to understand trace helps you know exactly when to pour your soap into molds for the best texture.
Temperature Control for Perfect Results
Temperature affects how your soap sets and how the oils react with lye. Both the lye solution and oils should ideally be between 90°F and 110°F before mixing.
If either is too hot or too cold, the soap can seize, or the texture can become uneven. I’ve kept a digital thermometer handy throughout the process, and it’s saved me from several ruined batches.
Keeping consistent temperatures is a small effort that guarantees smoother soap.
Customizing Your Soap: Colors, Scents, and Textures
Natural vs. Synthetic Coloring Options
There’s a lot of debate about using natural colors versus synthetic dyes in soap. Natural options like turmeric, spirulina, or beetroot powder are gentle and skin-friendly but may fade over time.
Synthetic colors provide vibrant, long-lasting hues but can sometimes irritate sensitive skin. From my experience, combining a small amount of natural pigment with mica powders strikes a nice balance between beauty and safety.
Experimenting with colors is a fun way to make each bar uniquely yours.
Creating Signature Scents with Essential Oil Blends
Blending essential oils can elevate your soap from basic to boutique-level. For instance, mixing lavender with bergamot creates a calming yet uplifting aroma, while eucalyptus and mint offer a refreshing, spa-like scent.
I often mix two or three oils in varying ratios to find a signature blend that suits my mood or season. Keep in mind that some oils are stronger than others, so start small and adjust to avoid overpowering scents.
Adding Texture and Visual Appeal
Texture can turn a simple soap bar into a tactile delight. Adding oatmeal, coffee grounds, or poppy seeds creates gentle exfoliation, while swirling techniques with different soap colors add artistic flair.
I’ve found that layering soap batter with contrasting colors or sprinkling herbs on top before it sets makes a great impression when gifting soaps. Texture not only enhances the look but also the user experience, making your soap memorable.
How to Properly Cure and Store Your Handmade Soap
The Importance of Curing Time
Curing your soap for at least 4 to 6 weeks allows excess water to evaporate, making the bar harder and longer-lasting. During this time, the soap also becomes milder and gentler on the skin as the saponification process completes.
When I rushed to use my first batch early, the soap was too soft and didn’t lather well. Now, I always set aside space on a drying rack with good air circulation to cure my soaps properly, ensuring they’re ready to impress.
Ideal Storage Conditions to Maintain Quality
Storing soap in a cool, dry place away from direct sunlight prevents fading and sweating (when moisture forms on the soap surface). Using breathable containers like wooden boxes or cotton bags helps maintain airflow and keeps the soap fresh.
I learned this the hard way when some soaps in plastic containers developed a sticky film. Proper storage not only preserves the soap’s look and scent but also extends its shelf life.
How to Tell When Soap Has Gone Bad
Though handmade soap can last up to a year or more, it’s important to recognize signs of spoilage such as a rancid smell, discoloration, or excessive softness.
If your soap smells off or feels slimy, it’s best to discard it. I keep track of my batches with labels and dates, so I never accidentally use old soap.
Regularly checking your soap ensures you’re always using a product that’s safe and effective.
Exploring Different Soap Making Techniques
Cold Process Soap Making
Cold process soap making is the classic method where oils and lye solution are mixed at room temperature and poured into molds to harden. This method allows for the most customization, from ingredients to designs.
I enjoy cold process because I can control everything from the start and experiment with fun swirls and layers. It requires patience during curing but results in a beautiful, long-lasting bar.
Hot Process Soap Making
Hot process involves cooking the soap batter after mixing, which speeds up saponification. This means the soap can be used sooner, often within a week.
The texture is more rustic, which I personally find charming for natural or exfoliating soaps. Hot process is less fussy about temperature and often more forgiving for beginners, making it a great option if you want faster results.
Melt and Pour Soap Bases
If you’re short on time or just starting out, melt and pour soap bases are a perfect choice. These pre-made soap blocks just need to be melted, customized with colors and scents, and poured into molds.
It’s a fun, safe way to get creative without handling lye. I often use melt and pour bases for quick gifts or when teaching friends because it’s so straightforward and versatile.
Common Troubleshooting Tips for Homemade Soap
Why Did My Soap Seize or Separate?
Soap seizing or separating usually happens when the temperature is off or ingredients aren’t mixed properly. If your soap thickens suddenly and becomes grainy, it might be seizing.
Slow, steady stirring and proper temperature control can prevent this. I once had a batch seize because I added fragrance too early; waiting until light trace before adding extras helped me avoid this issue in later batches.
Fixing Soap That Is Too Soft or Mushy
Soft soap often results from too much liquid or excess oils that haven’t fully saponified. To fix this, ensure accurate measurements and proper curing time.
If a batch is still soft after curing, you can try rebatching it by melting and re-molding, which can salvage your soap. I’ve done this a couple of times, and while it’s extra work, it saves product from going to waste.
Preventing and Managing Soap Discoloration
Discoloration can be caused by natural ingredients oxidizing or exposure to sunlight and heat. Using antioxidants like vitamin E oil can slow this process.
Storing soap properly and avoiding metal molds also helps. When I noticed some of my soaps turning yellow after a few weeks, switching to glass molds and adding vitamin E made a noticeable difference in color retention.
| Ingredient | Purpose | Common Uses |
|---|---|---|
| Olive Oil | Moisturizing, gentle | All skin types, sensitive skin |
| Coconut Oil | Creates lather, cleansing | Oily skin, bubbly soap |
| Shea Butter | Moisturizes, creamy texture | Dry skin, luxury soaps |
| Essential Oils | Fragrance, skin benefits | Aromatherapy, scent customization |
| Oatmeal | Exfoliation, soothing | Sensitive or irritated skin |
| Lye (Sodium Hydroxide) | Saponification agent | Transforms oils into soap |
Tips for Gifting and Selling Your Handmade Soap
Packaging Ideas That Impress
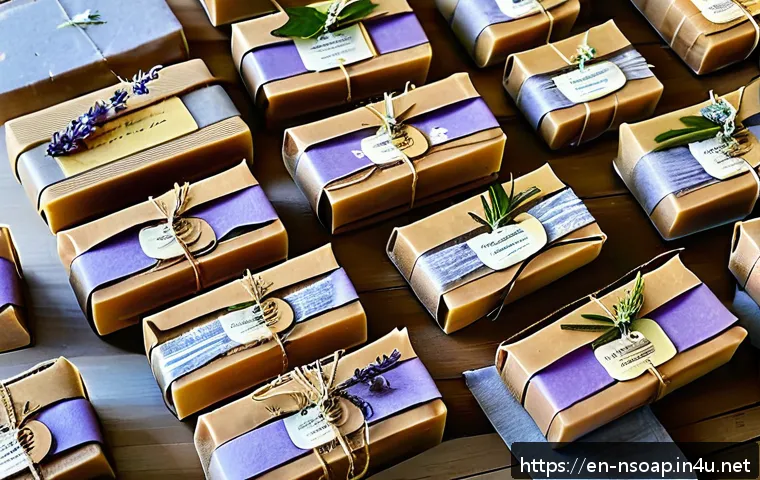
How you present your soap can make a huge difference, especially if you’re gifting or selling. I like using recycled kraft paper, tied with twine or adorned with dried flowers for a rustic look.
Clear boxes or eco-friendly wraps showcase the soap’s colors and textures beautifully. Adding handwritten labels or small tags with scent descriptions personalizes each bar and shows care.
Pricing Your Soap for Profit
Setting a fair price means considering ingredient costs, time spent, and packaging. I calculate the cost of each ingredient per batch, add labor, and factor in overheads like utilities or equipment.
It’s tempting to underprice, especially starting out, but valuing your craft fairly ensures sustainability. Don’t forget to research local market prices and adjust accordingly.
Sharing Your Passion with Customers
People love knowing the story behind their products. Sharing your soap-making journey, ingredient choices, and skin benefits builds trust and connection.
Whether on social media, at markets, or in your shop, telling your story helps customers appreciate the love and effort behind each bar. I’ve found that this personal touch often leads to repeat buyers and enthusiastic word-of-mouth.
In Conclusion
Making handmade soap is both an art and a science that rewards patience and creativity. From selecting the right ingredients to mastering techniques, every step shapes the final product’s quality and appeal. By understanding these fundamentals and trusting your experience, you can craft soaps that are not only beautiful but also nourishing and unique. Enjoy the process and let your personal touch shine through each bar.
Helpful Information to Keep in Mind
1. Always measure ingredients accurately to maintain the right balance for skin benefits and soap texture.
2. Use protective gear and work in a ventilated space when handling lye to ensure safety.
3. Allow sufficient curing time—rushing this step can affect hardness and lather quality.
4. Experiment with essential oil blends carefully to create signature scents without overpowering.
5. Store finished soaps in cool, dry places with good airflow to preserve their freshness and longevity.
Key Takeaways
Choosing quality oils and additives is essential for both the soap’s effectiveness and skin compatibility. Safety precautions when handling lye cannot be overstated—proper technique prevents accidents and ensures successful batches. Patience during mixing, curing, and storage greatly influences the final product’s texture and durability. Lastly, thoughtful packaging and storytelling enhance the value of your handmade soaps, whether for gifting or selling, creating a meaningful connection with users.
Frequently Asked Questions (FAQ) 📖
Q: uestionsQ1: What basic ingredients do I need to start making natural soap at home?
A: To begin your soap-making journey, you’ll need a few simple, natural ingredients: oils or butters (like olive oil, coconut oil, or shea butter), lye (sodium hydroxide), distilled water, and optional additives such as essential oils for fragrance or natural colorants like turmeric or spirulina.
I recommend starting with a straightforward recipe using olive oil and coconut oil, as they create a gentle, moisturizing bar. Always handle lye with care, using gloves and working in a well-ventilated area—it’s the key to transforming your oils into soap through saponification.
Q: How long does it take for homemade soap to be ready to use?
A: Once you’ve poured your soap mixture into molds, it usually takes about 24 to 48 hours to harden enough for unmolding. However, the curing process is just as important—it typically lasts 4 to 6 weeks.
During this time, the soap dries out and becomes milder and longer-lasting. I’ve found that patience here pays off big time: freshly unmolded soap might feel harsh on the skin, but after curing, it’s silky smooth and gentle.
Make sure to store your soap bars in a cool, dry place with good airflow while curing.
Q: Can I customize my soap to suit different skin types or preferences?
A: Absolutely! One of the best parts about making your own soap is tailoring it to your unique needs. For dry skin, you might add extra moisturizing oils like almond or avocado oil.
If you want exfoliation, ground oatmeal or coffee grounds work wonders. Sensitive skin benefits from soothing ingredients like chamomile or calendula.
I personally love experimenting with essential oil blends—not only do they scent the soap beautifully, but they can also provide aromatherapy benefits.
Just remember to patch test any new ingredient to avoid irritation.