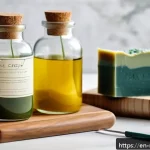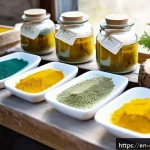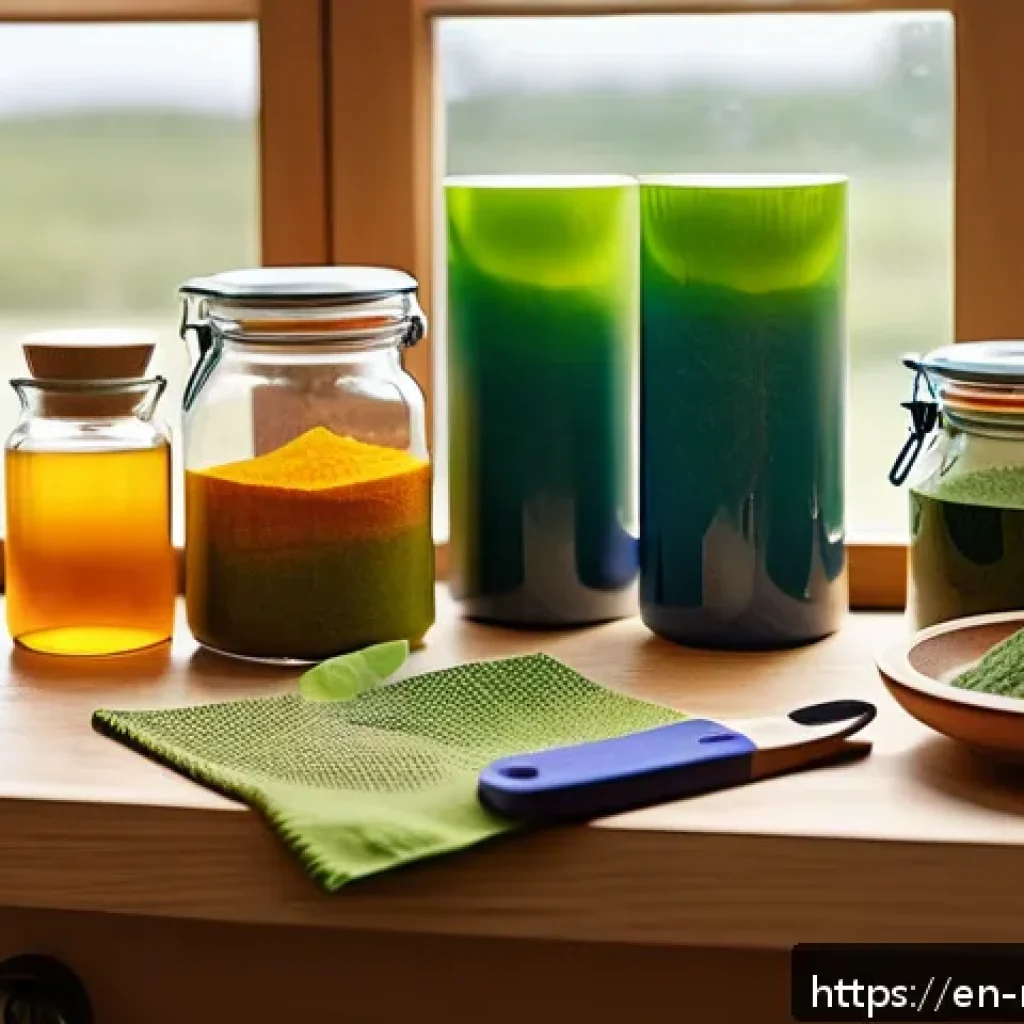
Lately, there’s been a growing buzz around natural skincare, with more people seeking healthier, chemical-free alternatives for daily use. If you’ve ever wondered how to craft your own soap from scratch, you’re in the right place.
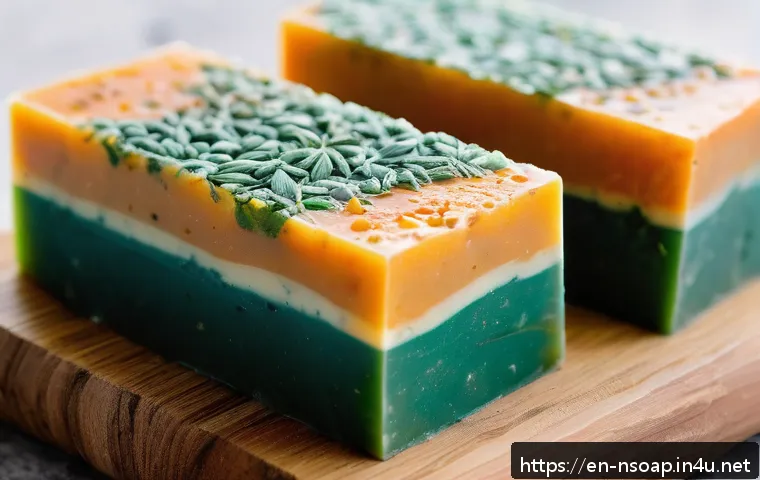
Homemade natural soap not only nourishes your skin but also lets you control every ingredient that touches your body. In this guide, I’ll walk you through the simple steps to create beautiful, effective soap at home—even if you’re a complete beginner.
Stick around, because by the end, you’ll be ready to make your very own batch of skin-loving soap that’s both eco-friendly and personalized. Let’s dive into this rewarding journey together!
Understanding the Basics of Natural Soap Making
What Makes Soap “Natural”?
Natural soap is all about simplicity and purity. Unlike commercial soaps packed with synthetic fragrances, harsh detergents, and preservatives, natural soap uses ingredients that come straight from nature—think plant oils, essential oils, herbs, and natural colorants.
These ingredients work in harmony to nourish your skin without stripping away its natural oils. When you make your own soap, you get to avoid unnecessary chemicals that might irritate sensitive skin or cause dryness.
I’ve noticed a huge difference in my skin’s texture and moisture since switching to natural soap, and it feels great knowing exactly what’s going onto my body.
The Essential Ingredients You’ll Need
At its core, soap is made by combining fats or oils with an alkali, usually lye. The magic happens during saponification, where these ingredients chemically react to form soap and glycerin.
For beginners, popular oils include olive oil, coconut oil, and shea butter, each contributing unique qualities: olive oil offers gentle moisturizing, coconut oil adds cleansing power and lather, while shea butter is super nourishing.
Essential oils like lavender or peppermint add fragrance and therapeutic benefits, while natural additives like oatmeal or dried flowers can provide gentle exfoliation and extra skin love.
Gathering quality ingredients upfront is key to crafting a soap that’s both effective and delightful to use.
Safety First: Handling Lye with Care
Working with lye (sodium hydroxide) might sound intimidating, but with the right precautions, it’s perfectly safe. I always make sure to wear gloves, goggles, and work in a well-ventilated area to avoid any mishaps.
Mixing lye with water generates heat and fumes, so patience is essential—never rush the process. Understanding the chemistry behind lye and how it transforms oils into soap not only ensures safety but also helps you troubleshoot and customize your recipes confidently.
After all, respect for this ingredient is the foundation for successful soap making.
Mastering the Soap Making Techniques
Cold Process Soap Making: A Step-by-Step Guide
Cold process soap making is a favorite among home soap makers because it gives you full control over the ingredients and final product texture. The process starts by carefully mixing lye with water, then combining this with your melted oils.
Stirring until the mixture reaches “trace”—a pudding-like consistency—is crucial before adding any extras like fragrances or colorants. Pouring into molds and allowing the soap to cure for 4-6 weeks lets it harden and develop a mild pH, perfect for skin.
I’ve found that keeping track of temperatures and timing really affects the quality, so patience and attention are your best friends here.
Hot Process Soap Making for Faster Results
If waiting weeks for your soap to cure isn’t your style, hot process soap making speeds things up by cooking the mixture after combining lye and oils.
This method uses a slow cooker or double boiler to heat the soap batter until it reaches a gel-like stage, which means it’s already saponified and safe to use after a shorter curing period.
The texture tends to be a bit chunkier and rustic, but it’s a great option when you want to gift or use your soaps sooner. Plus, the hands-on cooking approach can be really satisfying if you enjoy kitchen-style crafting.
Choosing the Right Mold and Curing Environment
Your soap mold shapes your creation and affects how easily you can unmold your bars. Silicone molds are popular for their flexibility and ease of cleaning, while wooden or plastic molds might require lining with freezer paper or plastic wrap.
Keeping your soap in a cool, dry place with good airflow during curing prevents cracking and ensures even drying. From my experience, rotating your molds occasionally and covering them loosely helps maintain shape and prevents dust from settling on your soap.
Proper curing isn’t just about time; it’s about creating the right environment for your soap to become firm and long-lasting.
Enhancing Your Soap with Natural Additives
Incorporating Herbs and Botanicals
Adding herbs like chamomile, calendula, or rosemary to your soap can bring soothing and healing properties along with natural beauty. These botanicals can be infused into oils before soap making or sprinkled directly into the soap batter for a lovely texture and appearance.
Using dried flowers not only makes your soap look stunning but also adds gentle exfoliation, which my skin has appreciated on rough days. Just be mindful of allergies and always test a small batch first to see how your skin reacts.
Using Clays and Natural Colorants
Clays such as bentonite, kaolin, or French green clay lend color and detoxifying benefits to your soap. They can help absorb excess oil and calm irritated skin, making them perfect for oily or acne-prone complexions.
Natural colorants like turmeric, spirulina, or activated charcoal offer vibrant hues without synthetic dyes. When I experimented with spirulina powder, my soap turned a stunning green shade and felt so fresh and invigorating to use.
Remember to balance the amount you add, as too much colorant can affect the soap’s texture or lather.
Essential Oils for Fragrance and Therapeutic Benefits
Essential oils are the heart of natural soap’s scent and can also provide aromatherapy benefits. Lavender calms, peppermint refreshes, and tea tree offers antimicrobial properties.
I always choose essential oils based on the mood or skin needs I want to address. For example, I mix eucalyptus and rosemary for an energizing morning soap, or chamomile and ylang-ylang for relaxation.
Be cautious with quantities—too much can irritate the skin or overpower the scent. A little goes a long way, and blending oils can create your own signature fragrance.
Troubleshooting Common Soap Making Challenges
Understanding and Fixing Trace Issues
Reaching trace is a key milestone in soap making, but sometimes your mixture might be too thin or too thick. If it’s too runny, it can be hard to pour and may separate during curing; if it’s too thick, it can set too quickly and be difficult to work with.
From my experience, adjusting stirring speed and temperature helps—warmer oils trace faster, and slower mixing prevents air bubbles. If you’re stuck, adding a small amount of extra water or oil can help balance the batter without ruining the batch.
Preventing Soap from Cracking or Shrinking
Cracking or shrinking soaps usually indicate uneven curing or temperature fluctuations. I once had a batch crack badly because my curing spot was too warm and humid.
To avoid this, keep your soaps in a stable environment with moderate humidity and avoid direct sunlight. Covering soaps lightly during the first 24 hours can also prevent rapid drying on the surface, which causes cracks.
Patience is key—letting your soap cure slowly and steadily results in a smooth, durable bar.
Dealing with Soap That’s Too Soft or Mushy
Soft soap often means excess water or insufficient curing time. If your soap feels mushy, it’s best to let it cure longer in a dry, ventilated spot. Using oils with higher saturated fat content like coconut or palm oil can also help harden the bars.
When I first started, I learned that accurate measurements and sticking to a tested recipe prevent this issue. If you want to fix a soft batch, cutting bars thinner can speed drying, or you can re-batch by melting the soap and pouring it again.
Planning and Customizing Your Soap Recipes
Balancing Oils for Desired Soap Qualities
Crafting a soap recipe is like blending a cocktail—each oil contributes something unique. Olive oil is gentle and moisturizing, coconut oil creates bubbly lather, palm oil adds hardness, and castor oil boosts creamy foam.
I often start with a basic recipe and tweak ratios based on the skin type I’m targeting. For dry skin, more olive and shea butter work wonders, while oily skin benefits from higher coconut oil.
Tracking your recipes in a notebook or spreadsheet helps you refine your blends with each batch.
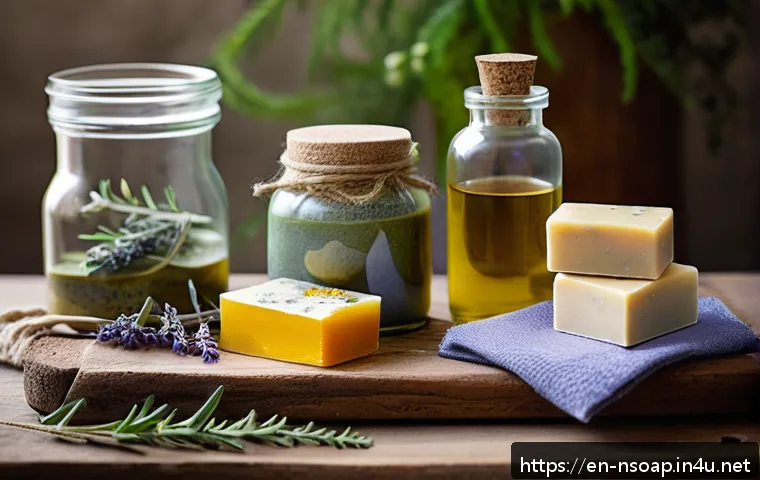
Incorporating Seasonal or Skin-Specific Ingredients
Seasonal ingredients like pumpkin puree in fall or cucumber juice in summer can add a fun twist to your soaps while offering additional skin benefits.
You can also tailor your soap for specific concerns—like oatmeal and honey for soothing sensitive skin or activated charcoal for detoxifying oily complexions.
I love experimenting with seasonal herbs and fruits, which keeps my soap making exciting and ensures I’m creating products that truly meet my skin’s needs.
Keeping a Soap Making Journal for Consistency
Documenting every batch—ingredients, measurements, temperatures, and curing times—has been invaluable for me. It’s easy to forget small details that make a big difference in soap quality.
A journal also helps identify patterns if something goes wrong or if you want to replicate a particularly successful batch. Including photos and notes about scent and texture turns your soap making into a fun and rewarding hobby that grows with your skills.
Essential Tools and Workspace Setup
Must-Have Equipment for Safe and Efficient Soap Making
Starting with the right tools makes the entire process smoother and safer. Key items include a digital scale for precise measurements, a sturdy stick blender to reach trace faster, heat-resistant containers for mixing lye, and silicone spatulas for scraping every bit of soap batter.
I also recommend investing in a good set of safety gear—gloves, goggles, and long sleeves—to protect yourself from lye splashes. Having everything within reach prevents rushing and mistakes during soap making.
Organizing Your Soap Making Space
A clutter-free and well-ventilated workspace is essential. I dedicate a small corner in my kitchen with a table covered in a washable mat for easy cleanup.
Natural soap making can get messy, so having paper towels, trash bins, and cleaning supplies handy saves time and frustration. Good lighting helps you see the color and texture changes clearly, and a timer ensures you don’t lose track of crucial steps.
Setting up your space thoughtfully turns soap making from a chore into a creative ritual.
Storage Solutions for Ingredients and Finished Soaps
Proper storage extends the life of your ingredients and finished products. Oils and butters should be kept in cool, dark places to prevent rancidity, while essential oils last longer in amber glass bottles away from sunlight.
Once cured, soaps benefit from being stored in breathable containers or on drying racks to avoid moisture buildup. I like using wooden crates or open shelves for my soaps, which helps airflow and keeps them looking inviting.
Organized storage also means you’ll always know when it’s time to restock or try new ingredients.
| Ingredient | Purpose | Skin Benefit | Typical Usage Rate |
|---|---|---|---|
| Olive Oil | Base oil | Moisturizing, gentle | 40-60% |
| Coconut Oil | Cleansing, lather | Creates bubbles, cleansing | 20-30% |
| Shea Butter | Conditioning | Nourishing, softening | 5-15% |
| Castor Oil | Foaming agent | Boosts creamy lather | 5-10% |
| Lye (Sodium Hydroxide) | Alkali for saponification | Transforms oils into soap | Calculated by soap calculator |
| Essential Oils | Fragrance, therapeutic | Varies by oil | 0.5-3% |
| Herbs/Clays | Texture, color, skin benefits | Exfoliation, detox | Up to 2 tablespoons per batch |
Creative Ideas to Personalize Your Soap
Designing Unique Patterns and Layers
One of the most fun parts of soap making is playing with colors and textures. Swirling two or more colors together creates stunning marbled effects, while layering different soap batter pours makes visually striking bars.
I like to use natural colorants like spirulina for green and paprika for warm orange to keep my soaps vibrant yet natural. Experimenting with layering also lets me combine different scents or skin benefits in one bar—imagine a calming lavender top layer with a refreshing peppermint base.
Adding Exfoliants for a Spa-Like Experience
Incorporating exfoliants like ground coffee, oatmeal, or poppy seeds can turn your soap into a gentle scrub that smooths rough patches and invigorates your skin.
I’ve found that coffee grounds not only exfoliate but also leave a subtle energizing scent that wakes me up in the morning. Be mindful of the particle size—too coarse can be harsh, while too fine might not provide enough exfoliation.
Adding exfoliants also boosts the tactile pleasure of using your handmade soap.
Gift Wrapping and Presentation Tips
Handmade soap makes a thoughtful gift, and presentation can elevate its appeal. Wrapping bars in recycled kraft paper tied with twine or decorated with dried flowers adds a charming, rustic touch.
Including a small tag with ingredient details and scent notes shows you care about the recipient’s experience. I often package my soaps in small boxes or organza bags for a polished look.
Thoughtful wrapping not only protects your soap but also makes unwrapping feel like a special treat.
Exploring the Benefits of Switching to Natural Soap
Health and Skin Benefits You Can Feel
Switching to natural soap has noticeably improved my skin’s hydration and reduced irritation. Unlike commercial soaps that can leave your skin feeling tight and dry, natural soaps maintain the skin’s natural oils thanks to glycerin, a natural byproduct of saponification.
Many people find that their eczema or acne symptoms improve when they avoid synthetic detergents and fragrances. Plus, natural ingredients often contain antioxidants and vitamins that support skin health, making your daily cleanse a nourishing ritual rather than a harsh chore.
Environmental Impact and Sustainability
Natural soap is not just good for your skin but also kinder to the planet. Most commercial soaps contain petrochemicals and microplastics that harm aquatic life and pollute water sources.
By making your own soap, you reduce packaging waste, avoid harmful chemicals, and often use biodegradable ingredients. I feel proud knowing my soap breaks down naturally and doesn’t contribute to landfill or water pollution.
Choosing sustainable oils and local ingredients further supports ethical and eco-friendly practices.
Cost Savings and Creative Fulfillment
Although initial supplies might seem pricey, homemade soap ultimately saves money over time. You can buy ingredients in bulk, customize recipes to your liking, and avoid expensive commercial brands that may not suit your skin.
Beyond savings, the creative process itself is incredibly fulfilling. Watching simple oils and lye transform into beautiful, fragrant bars gives a real sense of accomplishment.
Plus, homemade soap makes for heartfelt gifts that friends and family truly appreciate, adding a personal touch money can’t buy.
Closing Thoughts
Making natural soap is a rewarding journey that connects you with simple, wholesome ingredients and empowers you to care for your skin in a gentle, nourishing way. Whether you’re crafting for personal use or as thoughtful gifts, the process offers creativity and satisfaction. Embracing natural soap not only benefits your skin but also supports a healthier environment. I encourage you to experiment, be patient, and enjoy every step of this artisanal craft.
Helpful Tips to Remember
1. Always prioritize safety by wearing protective gear and working in a well-ventilated space when handling lye.
2. Keep a detailed soap making journal to track your recipes, adjustments, and results for consistent success.
3. Use quality, natural ingredients and adjust oil blends to suit your skin’s unique needs.
4. Allow sufficient curing time and maintain a stable environment to prevent cracking and ensure hardness.
5. Experiment with natural additives like herbs, clays, and essential oils to personalize your soap’s benefits and appearance.
Key Points Summary
Natural soap making is a blend of art and science requiring attention to ingredient quality, safety, and curing conditions. Understanding the role of oils, lye, and additives helps you create gentle, nourishing soaps tailored to your skin type. Patience during the curing phase and proper storage are crucial for producing long-lasting, effective bars. With practice and experimentation, soap making becomes an enjoyable, eco-friendly hobby that offers both creative fulfillment and healthier skin care alternatives.
Frequently Asked Questions (FAQ) 📖
Q: uestions about Making Natural Homemade SoapQ1: What are the basic ingredients I need to start making natural soap at home?
A: To get started, you’ll need a few key ingredients: a quality oil or fat (like olive oil, coconut oil, or shea butter), lye (sodium hydroxide), and water.
These three form the foundation of traditional soap through a chemical reaction called saponification. Beyond that, you can add natural essential oils for fragrance, dried herbs or flower petals for texture, and natural colorants like turmeric or spirulina.
Make sure to use food-grade lye and follow safety precautions closely because handling lye requires care. I remember my first batch—taking the time to measure everything precisely made all the difference in how the soap turned out.
Q: How long does it take for homemade soap to be ready to use?
A: Once you pour your soap mixture into molds, it typically needs about 24 to 48 hours to harden enough for unmolding. However, the soap isn’t fully cured at this point.
You should let it cure for 4 to 6 weeks in a cool, dry place with good air circulation. This curing time allows the soap to fully saponify, dry out, and become gentler on your skin.
I’ve found that rushing this step results in a softer bar that doesn’t last as long. Patience really pays off, as the longer cure makes your soap last longer and improves the lather quality.
Q: Is natural homemade soap suitable for sensitive skin?
A: Absolutely! One of the biggest benefits of making your own soap is controlling exactly what goes into it, which is great for sensitive skin. You can avoid harsh chemicals, synthetic fragrances, and preservatives that often irritate skin.
Instead, you can choose gentle oils like jojoba or sweet almond oil, and soothing additives like oatmeal or chamomile. That said, everyone’s skin reacts differently, so it’s wise to do a patch test first.
From personal experience, switching to homemade natural soap significantly reduced my skin irritation compared to store-bought options. It feels like giving your skin a kind, natural hug every day.