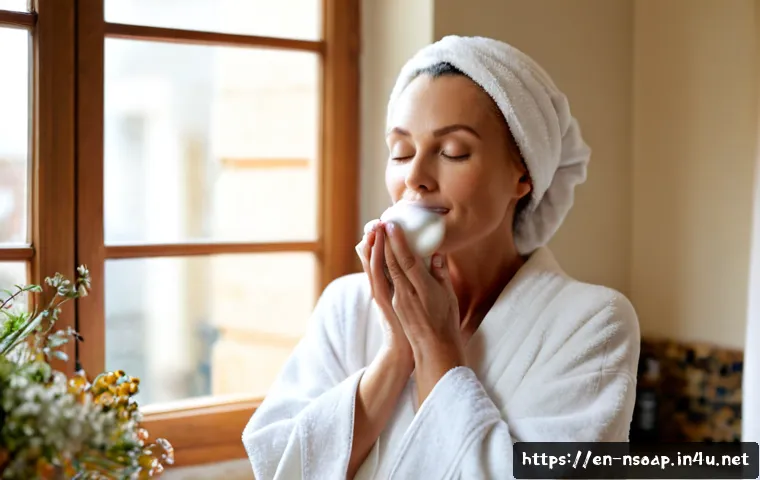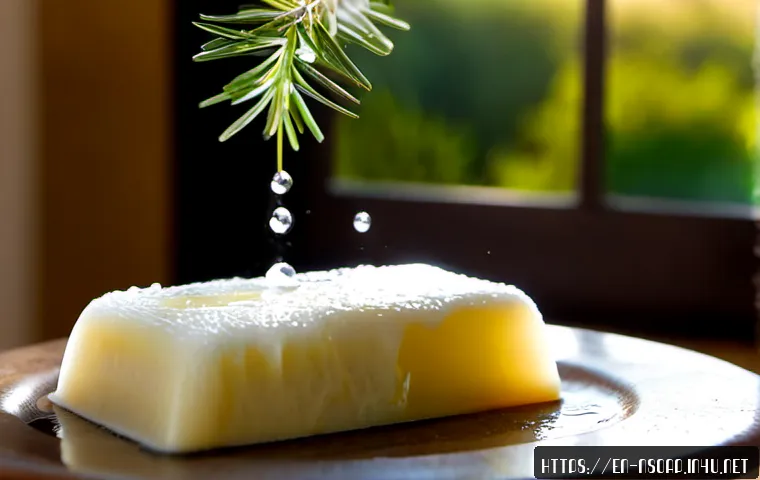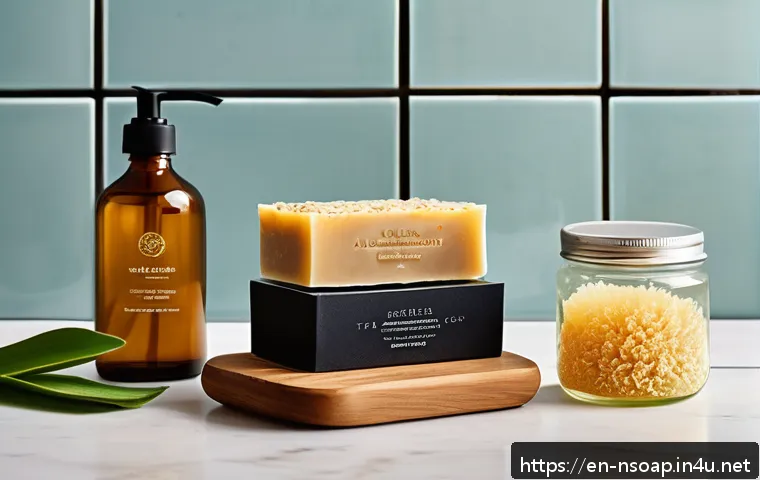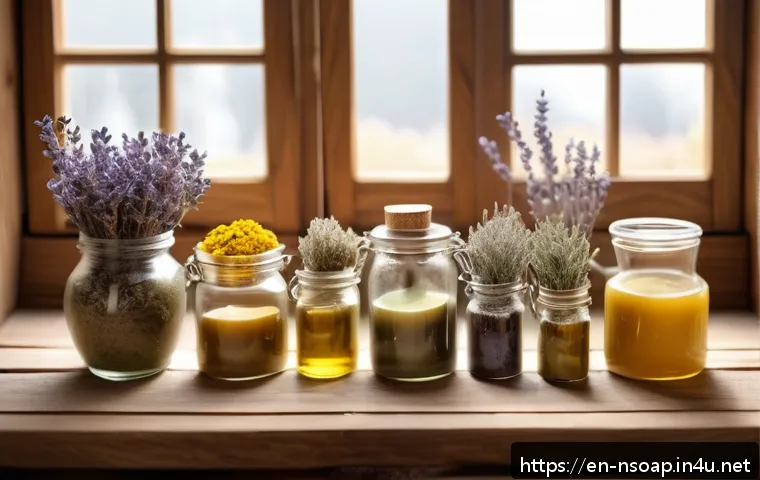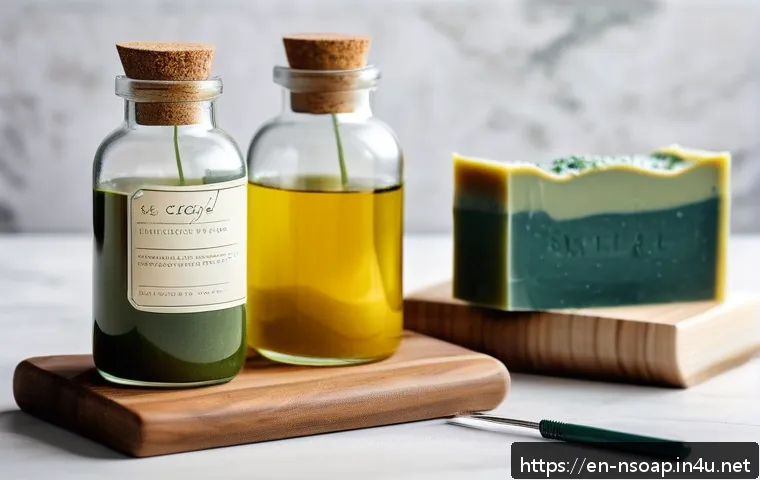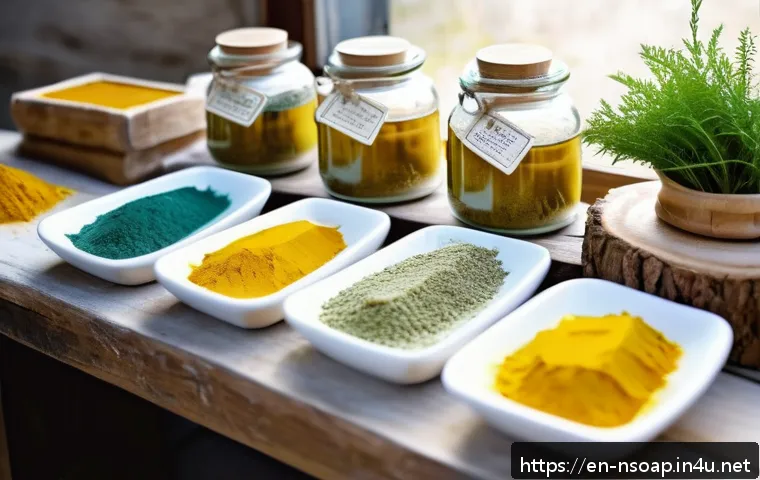
Lately, more people are turning to natural and sustainable self-care routines, seeking products that are both gentle and effective. Homemade soaps made from simple, natural ingredients have become a favorite for those craving luxury without the harsh chemicals.
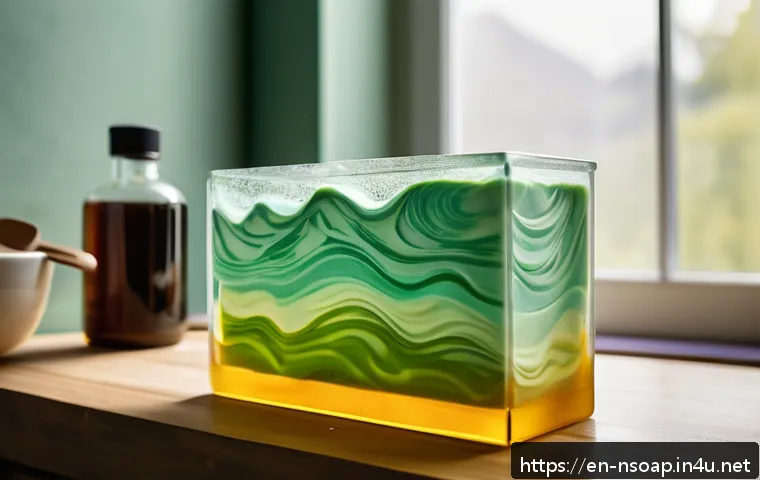
If you’ve ever wondered how to create your own high-quality soap at home, you’re in the right place. I’ve personally experimented with various recipes and discovered how easy and rewarding this process can be.
Stick around as we dive into the secrets of crafting luxurious natural soaps that nourish your skin and elevate your daily routine. Trust me, once you try making your own, you won’t look back!
Choosing the Right Natural Ingredients for Your Soap
Understanding Oils and Butters
When it comes to crafting natural soap, the foundation lies in selecting the right oils and butters. Each oil contributes a unique property, such as moisturizing, cleansing, or creating a fluffy lather.
For example, olive oil is a staple for its gentle moisturizing qualities, while coconut oil is prized for its ability to produce a rich, bubbly lather.
Shea butter and cocoa butter add a luxurious creaminess that nourishes dry skin deeply. Over the years, I’ve found balancing these ingredients is key—too much coconut oil can dry your skin out, but too little means less foam.
Experimenting with different ratios helped me perfect a recipe that feels both indulgent and skin-friendly.
Incorporating Essential Oils and Natural Additives
Essential oils not only provide delightful aromas but also bring therapeutic benefits to your soap. Lavender calms and soothes irritated skin, while tea tree oil offers antibacterial properties.
When I first started, I was cautious about how much to add because too much fragrance can overwhelm or irritate. A good rule of thumb is to stick to 1-2% of your total soap weight.
Beyond scents, adding natural additives like oatmeal, dried herbs, or activated charcoal can boost exfoliation and detoxification. For instance, adding finely ground oatmeal gives a gentle scrub that’s perfect for sensitive skin, something I personally enjoy for a morning refresh.
Water Sources and Their Impact
The water you use in soap making often gets overlooked, but it can affect your final product’s texture and shelf life. Distilled water is the safest bet, as it’s free from minerals and impurities that might interfere with the soap’s chemical reaction.
I once tried using tap water and noticed my soap hardened unevenly, which was disappointing. Some soap makers even use herbal teas or infused waters to add subtle botanical benefits.
If you’re adventurous, this can be a great way to personalize your soap even further, but make sure you test small batches first to avoid unexpected results.
The Science Behind Soap Making: Saponification Explained
What Happens When Oils Meet Lye
Soap making is a fascinating chemical process called saponification, where oils react with lye (sodium hydroxide) to form soap and glycerin. This reaction is what transforms your natural oils into a solid bar that cleanses without stripping your skin.
I remember being intimidated by lye at first, but once I understood its role, it felt empowering. It’s crucial to measure lye and oils accurately because an imbalance can lead to harsh soap or a sticky mess.
Using a reliable soap calculator helps ensure the perfect balance, which I always recommend for beginners and pros alike.
Temperature and Timing Matter
Maintaining the right temperature during mixing is essential. If your oils are too hot or too cold, the lye might not react properly, affecting the texture and curing time.
From my experience, heating oils to around 100-110°F before adding lye solution gives the best results. Also, stirring until you reach “trace” — the point where the mixture thickens enough to leave a mark on the surface — is critical.
Rushing this step or overmixing can ruin the soap’s consistency. Patience here really pays off in a smooth, well-formed bar.
Safety Precautions to Keep in Mind
Handling lye requires respect and care, as it’s a caustic substance that can cause burns if mishandled. I always wear gloves, goggles, and work in a well-ventilated area.
Having vinegar nearby is a good neutralizer in case of spills. Despite the initial caution, once you get familiar with the process, it becomes second nature and much less intimidating.
Many new soap makers get overwhelmed, but trust me, safety practices become routine quickly and make the whole experience much more enjoyable.
Designing Your Soap: Texture, Color, and Patterns
Adding Natural Colorants
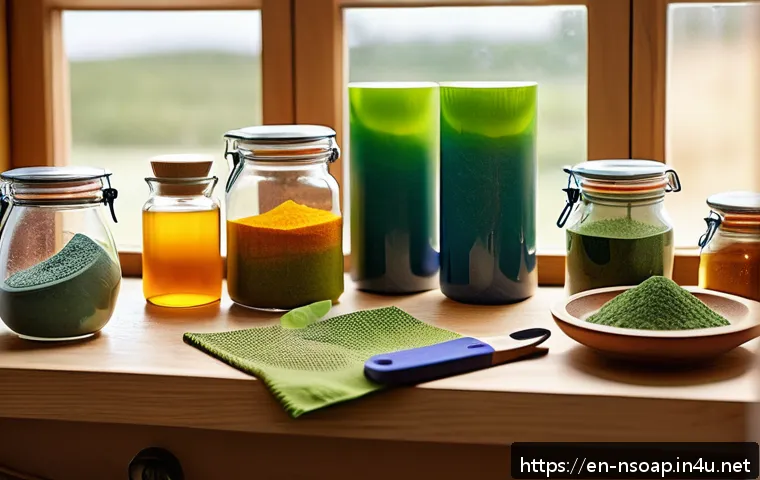
Creating visually stunning soap without synthetic dyes is easier than you think. Natural colorants like turmeric, spirulina, beetroot powder, and cocoa powder can add beautiful hues ranging from warm golden yellows to earthy greens and deep browns.
I like to mix small amounts into my base soap to see how the color develops as it cures. Keep in mind that some natural colors can fade over time or react differently depending on the other ingredients, so testing helps avoid surprises.
Techniques for Swirls and Layers
If you enjoy a little artistic flair, soap swirls and layers are a fun challenge. Pouring different colored soap mixtures in layers or swirling them with a stick before the soap sets creates unique patterns every time.
I found that timing and consistency are crucial; if the soap is too runny, the colors blend too much, and if it’s too thick, the swirls don’t flow well.
Playing around with these techniques made me feel like a true soap artisan, turning simple bars into mini masterpieces.
Incorporating Texture for Exfoliation
Adding texture not only enhances the look but also the functionality of your soap. Ingredients like ground coffee, poppy seeds, or sea salt provide gentle exfoliation, helping remove dead skin cells.
One of my favorite recipes includes finely ground coffee, which leaves a mild scrub effect and a subtle caffeine boost for the skin. Just be cautious with exfoliants as too coarse particles can irritate sensitive skin, so adjusting the amount and size of the particles is important for a pleasant experience.
Essential Tools and Equipment for Soap Making
Must-Have Basics for Beginners
Starting with the right tools can make the soap-making process smoother and more enjoyable. You’ll need a sturdy digital scale for precise measurements, heat-resistant containers for mixing lye and oils, a stick blender to speed up reaching trace, and molds to shape your soap.
I can’t emphasize enough how a reliable scale transformed my results — eyeballing ingredients led to inconsistent batches before I invested in one. Also, silicone molds are fantastic for easy removal without damaging your soap bars.
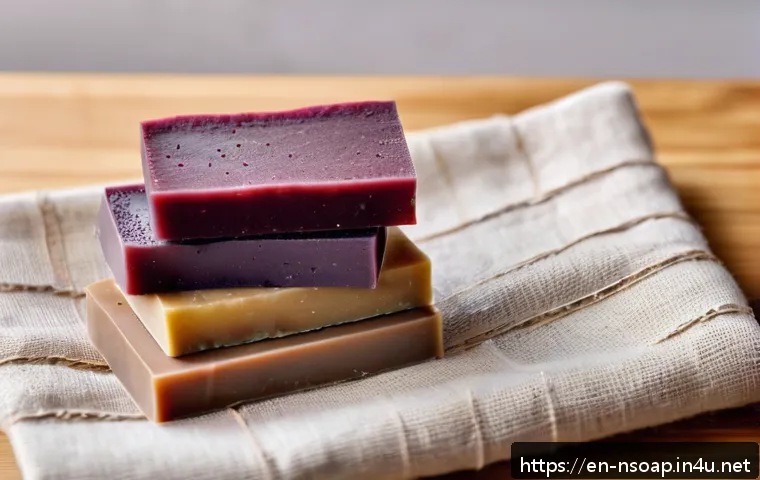
Advanced Tools for Creative Control
Once you get comfortable, you might want to experiment with more advanced equipment like temperature-controlled pots or silicone swirl molds that allow for intricate designs.
I picked up some specialized tools over time that helped me push the boundaries of my soap creations. Using a thermometer with a probe lets me monitor temperatures precisely, which is a game changer when trying to replicate recipes or work with delicate additives.
Maintaining Cleanliness and Safety
Cleaning your tools immediately after use is crucial to prevent soap residue buildup, which can affect future batches. I learned this the hard way when old soap bits interfered with a fresh batch’s texture.
Using hot water and a mild detergent works well, but avoid abrasive scrubbers that can damage silicone molds. Also, dedicating certain utensils solely for soap making helps maintain hygiene and prevents cross-contamination with kitchen tools.
Mastering the Curing and Storage Process
Why Curing Time Matters
After pouring your soap into molds, curing is the next crucial step. This drying period, which usually lasts 4-6 weeks, allows water to evaporate and the soap to harden, resulting in a longer-lasting bar that lathers better.
From personal experience, patience here is essential—using soap too soon felt harsh and soft, but after curing, the bars became creamier and gentler on my skin.
Mark your calendar when you make a batch to avoid the temptation of early use.
Ideal Storage Conditions
Proper storage during curing and after is key to maintaining your soap’s quality. A cool, dry, and well-ventilated space prevents excess moisture that can cause soft spots or mold.
I keep my curing soaps on racks with plenty of airflow and avoid plastic containers that trap humidity. Once fully cured, storing soaps in breathable paper or cloth bags preserves their fragrance and texture while protecting them from dust.
Signs Your Soap Is Ready to Use
Knowing when your soap is perfectly cured can be tricky for beginners. A simple test is to tap the soap—if it sounds hollow and feels firm, it’s ready.
Another indicator is weight; the soap should feel noticeably lighter than when freshly made due to moisture loss. I also look for a smooth surface with no tackiness.
Over time, you’ll develop a sense of when your soap hits that ideal balance of softness and durability.
Common Mistakes and How to Avoid Them
Overheating or Underheating Oils
Temperature control is often the biggest stumbling block. If oils get too hot, the soap can seize or develop an uneven texture. If too cold, the lye may not fully react, leaving a sticky or soft batch.
I’ve burned a few batches early on by rushing the heating process, but learning to be patient and use a reliable thermometer saved countless soaps after that.
Incorrect Lye Measurements
Misjudging lye amounts can ruin your batch, leading to soap that’s either too harsh or doesn’t set at all. This happened to me once when I misread the scale, resulting in a batch I couldn’t use.
Double-checking calculations and using a soap calculator every time are habits I swear by now. It’s always better to be meticulous here than to waste ingredients.
Adding Fragrances or Additives Too Early
Adding essential oils or exfoliants before the soap reaches trace can cause separation or uneven distribution. I learned that waiting until the mixture thickens slightly ensures these additions blend smoothly.
Rushing this step once left me with a lumpy bar and uneven scent, which was disappointing but a great learning experience.
Comparing Popular Natural Oils and Their Benefits
| Oil/Butter | Primary Benefit | Common Use | Skin Type Suitability | Lather Quality |
|---|---|---|---|---|
| Olive Oil | Moisturizing, gentle | Base oil for mild soaps | All, especially dry/sensitive | Low to moderate |
| Coconut Oil | Cleasing, bubbly lather | Lather booster | Oily to normal | High |
| Shea Butter | Deeply nourishing | Hardness and creaminess | Dry, mature skin | Moderate |
| Cocoa Butter | Emollient, protective | Bar hardness and scent | Dry, normal | Low |
| Castor Oil | Moisturizing, boosts lather | Used in small amounts | All skin types | Very high |
In Conclusion
Choosing the right natural ingredients and understanding the soap-making process can truly elevate your homemade soaps. From selecting oils and butters to mastering saponification and curing, each step plays a vital role in the final product’s quality. With patience and experimentation, you can create beautiful, nourishing soaps that suit your skin perfectly. Remember, safety and precision are key to enjoying this rewarding craft.
Helpful Tips to Keep in Mind
1. Always measure your ingredients carefully, especially lye and oils, to ensure a balanced and gentle soap.
2. Test small batches when trying new additives or natural colorants to avoid unexpected results.
3. Maintain proper temperature control during mixing to achieve the best texture and curing outcomes.
4. Use natural exfoliants in moderation to prevent irritation, especially for sensitive skin.
5. Store and cure your soaps in a cool, dry, and ventilated space to prolong their shelf life and maintain quality.
Key Takeaways
Successful soap making depends on a harmonious balance of ingredients and careful attention to detail throughout the process. Prioritizing safety when handling lye, understanding how oils and additives affect your soap, and allowing sufficient curing time are essential steps. By following these guidelines and trusting your experience, you’ll consistently produce high-quality, skin-friendly soaps that you can be proud of.
Frequently Asked Questions (FAQ) 📖
Q: What are the basic ingredients needed to make natural homemade soap?
A: To get started with natural homemade soap, you’ll typically need a few simple ingredients: oils or butters (like olive oil, coconut oil, or shea butter), lye (sodium hydroxide), water, and optional natural additives such as essential oils, herbs, or clays for fragrance and skin benefits.
The oils provide moisturizing properties, while the lye is essential for the saponification process that turns oils into soap. I’ve found that using high-quality oils and carefully measuring the lye is key to achieving a smooth, gentle bar that feels luxurious on the skin.
Q: Is making soap at home safe for beginners, and what precautions should I take?
A: Absolutely, making soap at home can be safe even for beginners, as long as you follow safety guidelines carefully. Handling lye requires respect because it’s a caustic substance that can cause burns if mishandled.
Always wear gloves and protective eyewear, work in a well-ventilated area, and never pour water into lye (always add lye to water slowly). I remember my first batch was a bit nerve-wracking, but once you get used to the process and safety steps, it becomes second nature—and incredibly satisfying!
Q: How long does homemade soap take to cure, and why is this important?
A: Homemade soap usually needs to cure for about 4 to 6 weeks before it’s ready to use. This curing time allows excess water to evaporate, making the soap harder and longer-lasting, and ensures that the saponification process is fully complete, so the soap is gentle on your skin.
From my experience, waiting can be the hardest part, but the difference is worth it—freshly cured soap lathers better and feels much smoother compared to soap used too soon.
Patience really pays off with homemade soap!