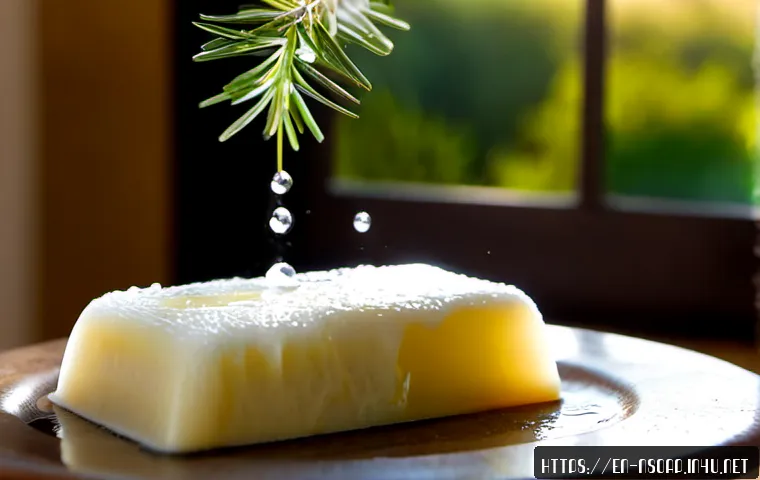
Have you ever stopped to consider what exactly goes into the soap you use every day? The world of commercial soaps is often filled with harsh chemicals and synthetic fragrances that can irritate sensitive skin.
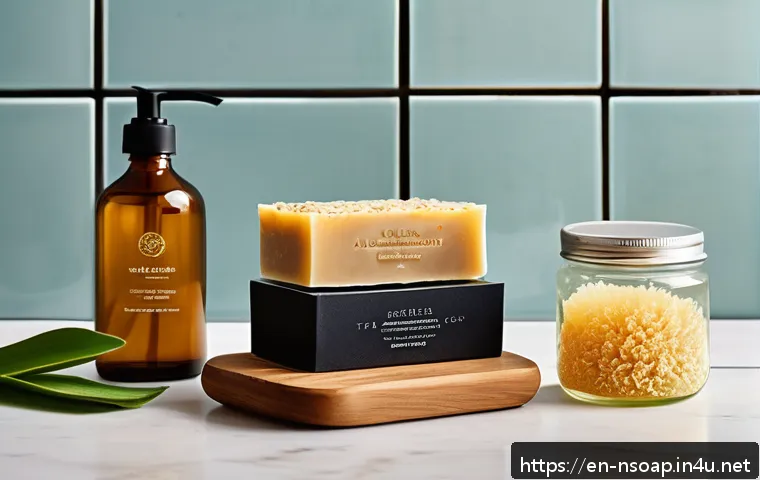
That’s why, more and more, people are turning to the time-honored tradition of making their own natural soaps. Not only is it a fantastic way to control the ingredients that come into contact with your skin, but it’s also a deeply satisfying and creative process.
Plus, with the growing trend of eco-consciousness, crafting your own soaps is a step towards reducing your environmental footprint. It’s a win-win! Let’s dive in and discover the secrets to creating your own luxurious, natural soaps.
Crafting your own soap is more than just a DIY project; it’s about creating a personalized experience that caters to your skin’s unique needs. It’s also a sustainable practice that aligns with eco-conscious living.
Understanding the Building Blocks: Essential Soapmaking Ingredients
Choosing the right ingredients is paramount when venturing into the world of homemade soap. It’s not just about mixing a few things together; it’s about understanding how each component contributes to the final product’s properties.
Oils and Fats: The Heart of Your Soap
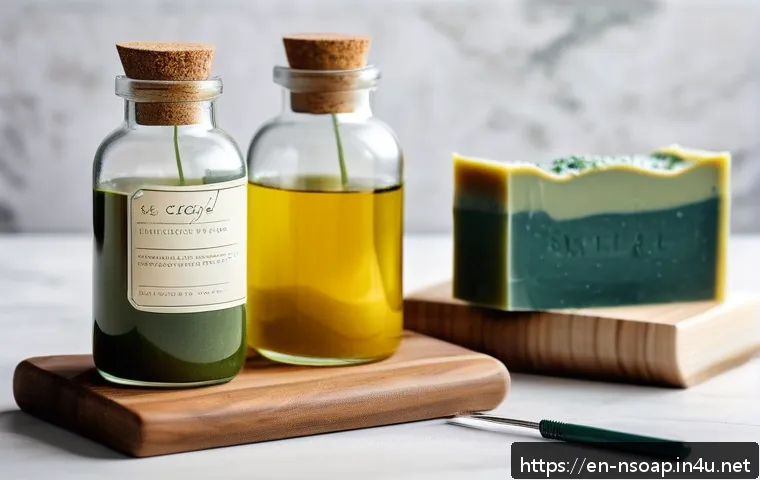
The oils and fats you select will heavily influence your soap’s hardness, lather, and moisturizing abilities. For instance, coconut oil is known for its bubbly lather, but using too much can make your soap drying.
Olive oil, on the other hand, creates a gentle, moisturizing bar but produces a softer lather. Palm oil is often used for its hardness and creamy lather, but it’s crucial to source it sustainably.
I remember when I first started, I went overboard with coconut oil and ended up with soap that was incredibly cleansing but stripped my skin of its natural oils.
Now, I aim for a balanced blend, usually around 30% coconut oil, 30% olive oil, and then a mix of other oils like shea butter or sweet almond oil for added moisturizing benefits.
Lye: The Necessary Evil (Used with Caution!)
Lye, or sodium hydroxide (NaOH), is an essential ingredient in cold process soapmaking. It’s what causes the saponification process, turning oils into soap.
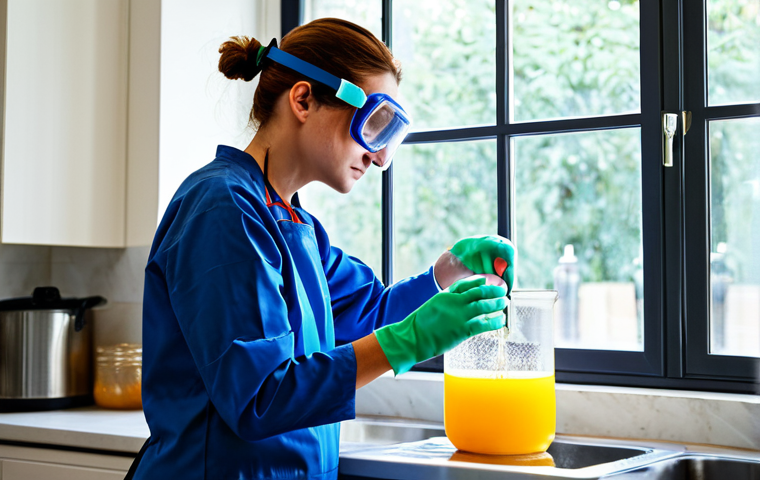
Handling lye requires extreme caution, as it’s corrosive and can cause severe burns. Always wear gloves and eye protection, and work in a well-ventilated area.
It’s really important to add lye to water, NEVER the other way around, to avoid a volcanic reaction. When I first started, I was terrified of using lye, but with proper precautions and careful measurements, it’s become a manageable part of the process.
I always double-check my calculations and keep a bottle of vinegar nearby to neutralize any spills.
Additives: Personalizing Your Soap
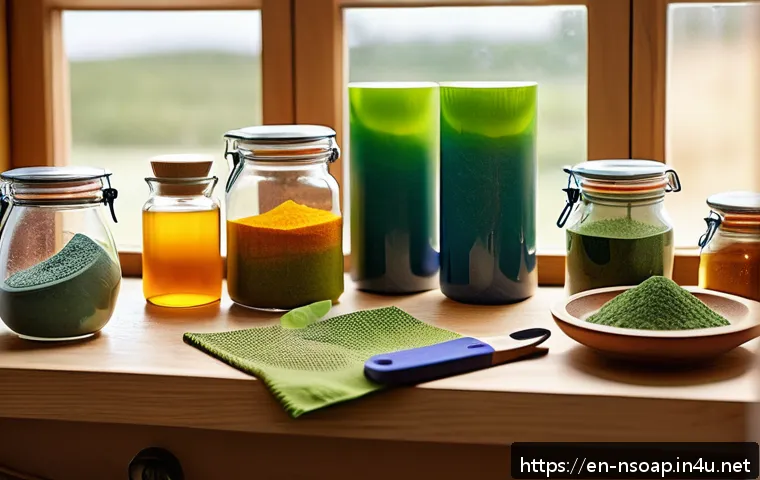
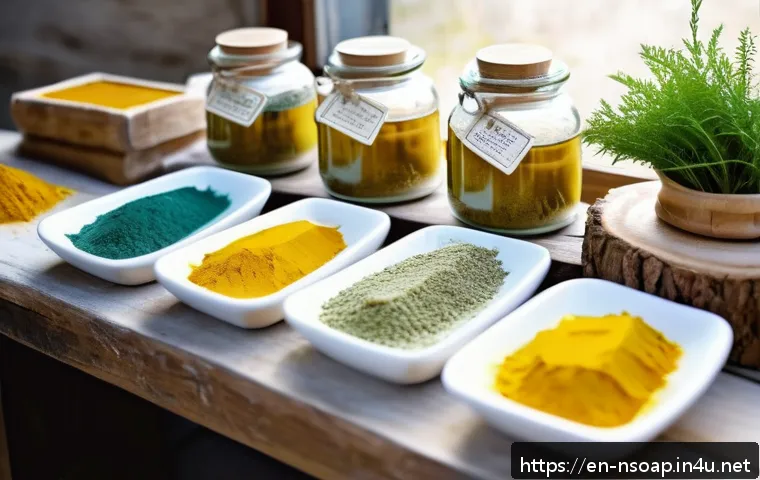
This is where the fun really begins! Additives can transform your soap from basic cleanser to a luxurious treat. Essential oils provide fragrance and therapeutic benefits, while natural colorants like clays, herbs, and spices can create beautiful swirls and hues.
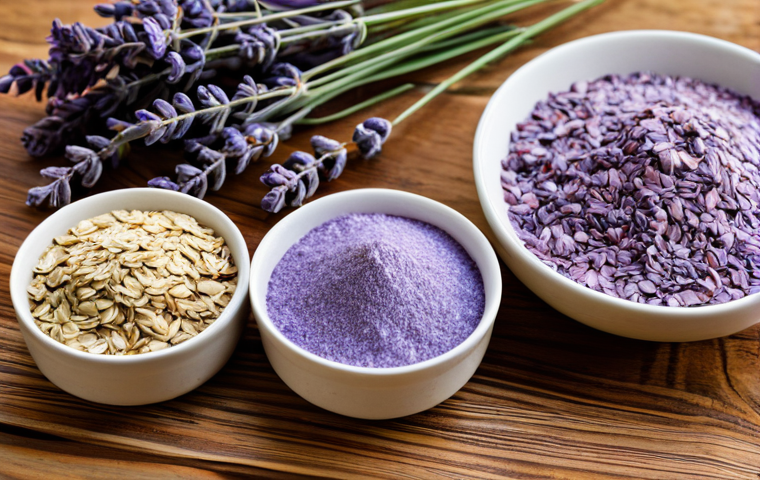
Exfoliants like oatmeal, coffee grounds, or poppy seeds add texture and help slough off dead skin cells. I love experimenting with different combinations.
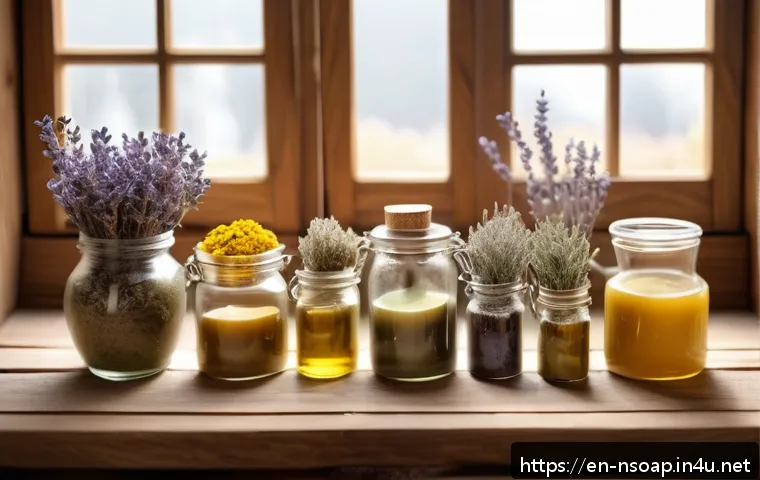
One of my favorites is a lavender and oatmeal soap with a touch of purple clay for color. The lavender is calming, the oatmeal is gentle, and the clay gives it a lovely, natural tint.
Safety First: Essential Precautions for Soapmaking
Soapmaking involves working with lye, a caustic substance that can cause burns. Prioritizing safety is non-negotiable.
Protective Gear: Gloves, Goggles, and Ventilation
Always wear gloves and eye protection when handling lye or working with your soap mixture. A well-ventilated area is also crucial to avoid inhaling any fumes.
I learned this the hard way when I didn’t have enough ventilation and ended up with a nasty cough. Now, I always make sure to open windows and even use a fan to keep the air circulating.
Lye Handling: Proper Mixing and Storage
Add lye to water, not the other way around, to avoid a dangerous reaction. Stir gently and slowly, and be prepared for the mixture to heat up. Store lye in a tightly sealed container, clearly labeled, and out of reach of children and pets.
I keep mine in a locked cabinet in the garage, far away from anything else.
Neutralizing Spills: Vinegar is Your Friend
Keep a bottle of vinegar nearby to neutralize any lye spills. Vinegar is an acid that will counteract the alkalinity of the lye. Simply pour vinegar onto the spill and wipe it up with a damp cloth.
This simple step can prevent serious burns.
The Cold Process Method: A Step-by-Step Guide
The cold process method is a popular and relatively simple way to make soap at home. It involves combining lye and oils at relatively low temperatures to create a chemical reaction called saponification.
Melting Oils: Getting Started
Begin by melting your solid oils, such as coconut oil and shea butter, in a stainless steel pot or microwave-safe container. Heat gently until fully melted, then allow to cool slightly.
The goal is to have all your oils in a liquid state before combining them with the lye solution.
Mixing Lye Solution: A Crucial Step
Carefully add lye to water, stirring constantly until dissolved. The mixture will heat up, so be patient and continue stirring until it cools slightly.
It should be clear with no undissolved lye particles at the bottom.
Combining Oils and Lye: The Saponification Process
Once both the oils and lye solution have cooled to around 100-110°F (38-43°C), slowly pour the lye solution into the oils, stirring constantly. Use an immersion blender to speed up the process and ensure thorough mixing.
Continue blending until the mixture reaches “trace,” a point where it thickens enough to leave a trail on the surface when you drizzle some of the mixture over it.
Adding Color and Fragrance: Personalizing Your Creation
This is where you can really let your creativity shine. Adding natural colorants and essential oils can transform your soap from basic cleanser to a personalized masterpiece.
Natural Colorants: Clay, Herbs, and Spices
Clays, herbs, and spices can add beautiful, natural colors to your soap. For example, adding rose clay will give your soap a pink hue, while spirulina powder will create a green color.
Infuse oils with herbs like calendula or chamomile, then strain and add to your soap batch.
Essential Oils: Aromatherapy in a Bar
Essential oils not only provide fragrance but also offer therapeutic benefits. Lavender is calming, peppermint is invigorating, and tea tree is antibacterial.
Add essential oils to your soap mixture after it has reached trace, and stir well to combine.
Swirling Techniques: Creating Visual Appeal
Swirling techniques can create stunning visual effects in your soap. One simple method is to divide your soap batter into multiple containers, add different colorants to each, and then pour them back into the main container in a swirling pattern.
Curing and Cutting: The Final Touches
Curing and cutting are essential steps in the soapmaking process. Curing allows excess water to evaporate, resulting in a harder, longer-lasting bar of soap.
Curing Time: Patience is Key
After pouring your soap into a mold, cover it with a lid or plastic wrap and let it sit for 24-48 hours. This allows the saponification process to complete and the soap to harden.
After unmolding, cut the soap into bars and place them on a wire rack to cure for 4-6 weeks.
Cutting Techniques: Achieving Uniform Bars
Use a sharp knife or a soap cutter to cut your soap into uniform bars. Be gentle and avoid applying too much pressure, as this can cause the soap to crumble.
Storage: Keeping Your Soap Fresh
Store your cured soap in a cool, dry place away from direct sunlight. This will help prevent it from becoming rancid or losing its fragrance. Here is a sample table showcasing essential oils and their potential benefits when added to your soap:
| Essential Oil | Potential Benefits | Notes |
|---|---|---|
| Lavender | Calming, soothing, promotes relaxation | Suitable for all skin types, especially sensitive skin |
| Peppermint | Invigorating, cooling, relieves itching | Use sparingly, as it can be irritating to some skin types |
| Tea Tree | Antibacterial, antifungal, treats acne | Effective for oily or acne-prone skin |
| Eucalyptus | Decongestant, antiseptic, relieves muscle aches | Avoid using on young children |
| Rosemary | Stimulating, improves circulation, enhances memory | May not be suitable for pregnant women |
Troubleshooting Common Soapmaking Issues
Even with careful planning, soapmaking can sometimes present challenges. Here are some common issues and how to address them.
Ash on Soap: A Harmless but Unsightly Problem
Ash is a white, powdery substance that can form on the surface of soap during curing. It’s harmless and doesn’t affect the soap’s quality, but it can be unsightly.
You can remove ash by wiping it off with a damp cloth or steaming the soap.
Soap Softness: Adjusting Your Recipe
If your soap is too soft, it may be due to using too much olive oil or not enough hard oils like coconut oil or palm oil. Adjust your recipe accordingly in future batches.
Separation: Improper Emulsification
Separation occurs when the oils and lye solution don’t fully combine, resulting in a greasy or layered soap. This can be caused by not mixing the ingredients thoroughly enough or by using ingredients that are too cold.
Rebatching can often save a separated batch of soap. Crafting your own soap is more than just a DIY project; it’s about creating a personalized experience that caters to your skin’s unique needs.
It’s also a sustainable practice that aligns with eco-conscious living.
Understanding the Building Blocks: Essential Soapmaking Ingredients
Choosing the right ingredients is paramount when venturing into the world of homemade soap. It’s not just about mixing a few things together; it’s about understanding how each component contributes to the final product’s properties.
Oils and Fats: The Heart of Your Soap
The oils and fats you select will heavily influence your soap’s hardness, lather, and moisturizing abilities. For instance, coconut oil is known for its bubbly lather, but using too much can make your soap drying. Olive oil, on the other hand, creates a gentle, moisturizing bar but produces a softer lather. Palm oil is often used for its hardness and creamy lather, but it’s crucial to source it sustainably. I remember when I first started, I went overboard with coconut oil and ended up with soap that was incredibly cleansing but stripped my skin of its natural oils. Now, I aim for a balanced blend, usually around 30% coconut oil, 30% olive oil, and then a mix of other oils like shea butter or sweet almond oil for added moisturizing benefits.
Lye: The Necessary Evil (Used with Caution!)
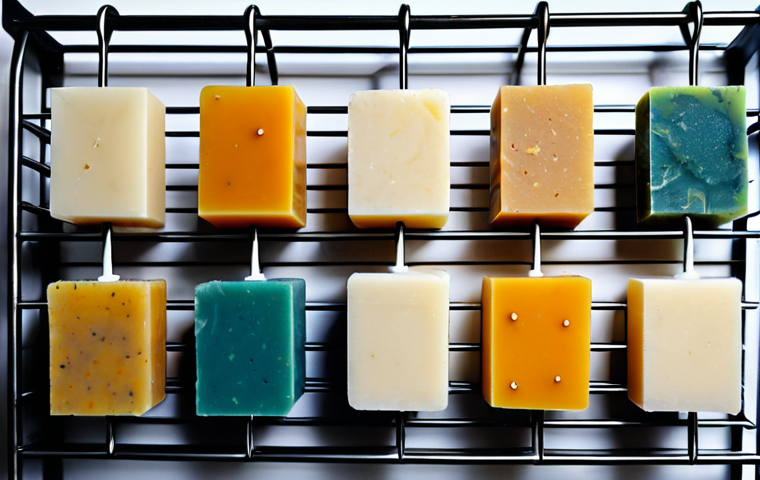
Lye, or sodium hydroxide (NaOH), is an essential ingredient in cold process soapmaking. It’s what causes the saponification process, turning oils into soap. Handling lye requires extreme caution, as it’s corrosive and can cause severe burns. Always wear gloves and eye protection, and work in a well-ventilated area. It’s really important to add lye to water, NEVER the other way around, to avoid a volcanic reaction. When I first started, I was terrified of using lye, but with proper precautions and careful measurements, it’s become a manageable part of the process. I always double-check my calculations and keep a bottle of vinegar nearby to neutralize any spills.
Additives: Personalizing Your Soap
This is where the fun really begins! Additives can transform your soap from basic cleanser to a luxurious treat. Essential oils provide fragrance and therapeutic benefits, while natural colorants like clays, herbs, and spices can create beautiful swirls and hues. Exfoliants like oatmeal, coffee grounds, or poppy seeds add texture and help slough off dead skin cells. I love experimenting with different combinations. One of my favorites is a lavender and oatmeal soap with a touch of purple clay for color. The lavender is calming, the oatmeal is gentle, and the clay gives it a lovely, natural tint.
Safety First: Essential Precautions for Soapmaking
Soapmaking involves working with lye, a caustic substance that can cause burns. Prioritizing safety is non-negotiable.
Protective Gear: Gloves, Goggles, and Ventilation
Always wear gloves and eye protection when handling lye or working with your soap mixture. A well-ventilated area is also crucial to avoid inhaling any fumes. I learned this the hard way when I didn’t have enough ventilation and ended up with a nasty cough. Now, I always make sure to open windows and even use a fan to keep the air circulating.
Lye Handling: Proper Mixing and Storage
Add lye to water, not the other way around, to avoid a dangerous reaction. Stir gently and slowly, and be prepared for the mixture to heat up. Store lye in a tightly sealed container, clearly labeled, and out of reach of children and pets. I keep mine in a locked cabinet in the garage, far away from anything else.
Neutralizing Spills: Vinegar is Your Friend
Keep a bottle of vinegar nearby to neutralize any lye spills. Vinegar is an acid that will counteract the alkalinity of the lye. Simply pour vinegar onto the spill and wipe it up with a damp cloth. This simple step can prevent serious burns.
The Cold Process Method: A Step-by-Step Guide
The cold process method is a popular and relatively simple way to make soap at home. It involves combining lye and oils at relatively low temperatures to create a chemical reaction called saponification.
Melting Oils: Getting Started
Begin by melting your solid oils, such as coconut oil and shea butter, in a stainless steel pot or microwave-safe container. Heat gently until fully melted, then allow to cool slightly. The goal is to have all your oils in a liquid state before combining them with the lye solution.
Mixing Lye Solution: A Crucial Step
Carefully add lye to water, stirring constantly until dissolved. The mixture will heat up, so be patient and continue stirring until it cools slightly. It should be clear with no undissolved lye particles at the bottom.
Combining Oils and Lye: The Saponification Process
Once both the oils and lye solution have cooled to around 100-110°F (38-43°C), slowly pour the lye solution into the oils, stirring constantly. Use an immersion blender to speed up the process and ensure thorough mixing. Continue blending until the mixture reaches “trace,” a point where it thickens enough to leave a trail on the surface when you drizzle some of the mixture over it.
Adding Color and Fragrance: Personalizing Your Creation
This is where you can really let your creativity shine. Adding natural colorants and essential oils can transform your soap from basic cleanser to a personalized masterpiece.
Natural Colorants: Clay, Herbs, and Spices
Clays, herbs, and spices can add beautiful, natural colors to your soap. For example, adding rose clay will give your soap a pink hue, while spirulina powder will create a green color. Infuse oils with herbs like calendula or chamomile, then strain and add to your soap batch.
Essential Oils: Aromatherapy in a Bar
Essential oils not only provide fragrance but also offer therapeutic benefits. Lavender is calming, peppermint is invigorating, and tea tree is antibacterial. Add essential oils to your soap mixture after it has reached trace, and stir well to combine.
Swirling Techniques: Creating Visual Appeal
Swirling techniques can create stunning visual effects in your soap. One simple method is to divide your soap batter into multiple containers, add different colorants to each, and then pour them back into the main container in a swirling pattern.
Curing and Cutting: The Final Touches
Curing and cutting are essential steps in the soapmaking process. Curing allows excess water to evaporate, resulting in a harder, longer-lasting bar of soap.
Curing Time: Patience is Key
After pouring your soap into a mold, cover it with a lid or plastic wrap and let it sit for 24-48 hours. This allows the saponification process to complete and the soap to harden. After unmolding, cut the soap into bars and place them on a wire rack to cure for 4-6 weeks.
Cutting Techniques: Achieving Uniform Bars
Use a sharp knife or a soap cutter to cut your soap into uniform bars. Be gentle and avoid applying too much pressure, as this can cause the soap to crumble.
Storage: Keeping Your Soap Fresh
Store your cured soap in a cool, dry place away from direct sunlight. This will help prevent it from becoming rancid or losing its fragrance.
Here is a sample table showcasing essential oils and their potential benefits when added to your soap:
| Essential Oil | Potential Benefits | Notes |
|---|---|---|
| Lavender | Calming, soothing, promotes relaxation | Suitable for all skin types, especially sensitive skin |
| Peppermint | Invigorating, cooling, relieves itching | Use sparingly, as it can be irritating to some skin types |
| Tea Tree | Antibacterial, antifungal, treats acne | Effective for oily or acne-prone skin |
| Eucalyptus | Decongestant, antiseptic, relieves muscle aches | Avoid using on young children |
| Rosemary | Stimulating, improves circulation, enhances memory | May not be suitable for pregnant women |
Troubleshooting Common Soapmaking Issues
Even with careful planning, soapmaking can sometimes present challenges. Here are some common issues and how to address them.
Ash on Soap: A Harmless but Unsightly Problem
Ash is a white, powdery substance that can form on the surface of soap during curing. It’s harmless and doesn’t affect the soap’s quality, but it can be unsightly. You can remove ash by wiping it off with a damp cloth or steaming the soap.
Soap Softness: Adjusting Your Recipe
If your soap is too soft, it may be due to using too much olive oil or not enough hard oils like coconut oil or palm oil. Adjust your recipe accordingly in future batches.
Separation: Improper Emulsification
Separation occurs when the oils and lye solution don’t fully combine, resulting in a greasy or layered soap. This can be caused by not mixing the ingredients thoroughly enough or by using ingredients that are too cold. Rebatching can often save a separated batch of soap.
In Conclusion
So, there you have it – a comprehensive guide to making your own soap! It might seem daunting at first, but with a little patience and practice, you’ll be crafting beautiful, personalized bars in no time. Don’t be afraid to experiment with different ingredients and techniques to find what works best for you. Remember, every batch is a learning opportunity. Happy soaping!
Useful Tips
1. Always double-check your lye calculations using a soap calculator to ensure the correct ratio of lye to oils.
2. Use distilled water for your lye solution to avoid any unwanted minerals or impurities in your soap.
3. Invest in a good quality immersion blender to ensure thorough mixing and prevent separation.
4. Consider joining a local soapmaking group or online forum to connect with other soapmakers and share tips and advice.
5. Label your soaps with the ingredients and date they were made for easy reference and to comply with any local regulations.
Key Takeaways
Safety is paramount when working with lye. Always wear protective gear and work in a well-ventilated area.
The cold process method involves combining lye and oils at relatively low temperatures to create saponification.
Additives like essential oils, clays, and herbs can personalize your soap with fragrance, color, and therapeutic benefits.
Curing your soap for 4-6 weeks allows excess water to evaporate, resulting in a harder, longer-lasting bar.
Troubleshooting common issues like ash or separation can help you improve your soapmaking skills.
Frequently Asked Questions (FAQ) 📖
Q: I’m totally new to this. Is making soap at home really as easy as it sounds, or am I going to end up with a big, greasy mess?
A: Honestly, I was intimidated at first too! But trust me, once you get the hang of it, it’s surprisingly straightforward. I remember my first batch – I was so nervous about getting the temperatures right.
It’s all about following the recipe closely and being patient. Start with a simple recipe using easy-to-find ingredients like olive oil, coconut oil, and lye.
There are tons of great tutorials online. And yeah, you might have a couple of “learning experiences” along the way, but even those mistakes can often be salvaged.
Think of it as a fun experiment! I messed up a few times in the beginning, adding too much fragrance oil (the scent was overpowering!) or not mixing properly (hello, weirdly textured soap!).
But now, I’m making batches that rival anything you’d find in a fancy boutique.
Q: Okay, lye sounds a little scary. Is it safe to use at home, and what precautions should I take?
A: Lye definitely deserves respect, no question. It’s corrosive, so you absolutely need to handle it with care. But don’t let that scare you off completely!
Think of it like driving a car – you need to know the rules of the road and take precautions, but millions of people do it safely every day. When working with lye, always wear safety goggles and gloves.
I personally prefer nitrile gloves because they’re more resistant to chemicals. Mix the lye and water in a well-ventilated area (I usually do it outside), and always add the lye to the water, never the other way around – that can cause a volcanic reaction!
Also, have a bottle of vinegar handy in case of spills; it neutralizes the lye. I accidentally splashed some lye water on my countertop once, and the vinegar saved the day!
Just be mindful, informed, and you’ll be fine.
Q: I’m allergic to several common ingredients in store-bought soaps. Can I really customize my homemade soap to avoid these allergens?
A: That’s one of the biggest perks of making your own soap! You have complete control over what goes in it. If you’re allergic to, say, almond oil, you simply don’t use it.
I have a friend who’s super sensitive to artificial fragrances, so she makes her own soap using only essential oils like lavender and chamomile. She swears it’s made a huge difference in her skin.
You can experiment with different oils, butters (like shea butter or cocoa butter), and additives like clays, herbs, and even oatmeal for extra gentleness.
Just be sure to do your research and double-check that all your ingredients are safe for your specific allergies. It’s like being a chemist and a soap maker all in one – so much fun!
📚 References
Wikipedia Encyclopedia
구글 검색 결과
구글 검색 결과
구글 검색 결과
구글 검색 결과
구글 검색 결과